homemade FRESH CHEESE // fresh cheese TARTINES

 |  |
Since the last post, I've been eating soft farmer's cheese every morning with a toasted English muffin and apricot jam. It has been a real treat to wake up with, and now one of my favorite ingredients, in general.
I didn't realize when I attempted to make cheese for the first time - this firmer, pressed cheese photographed - I'd also be learning how to make spreadable farmer's cheese along the way. My intent was to learn how to make Indian paneer, the firm cubed cheese you'd find in dishes like saag paneer, but along the way I realized how simple basic cheese-making can be. If you love cheese, and you have the time to experiment, this basic recipe can really take you in many cheesy directions. You can follow all the steps below to get a fresh, but firm, pressed cheese that is like an Indian paneer or Mexican queso fresco, or you can stop after step four for a spreadable version (and reduce the salt a bit if you want it to pair well with fruit, honey, or jam). It's also pretty clear that you could add herbs, black pepper, or a number of other flavors to the curds to spice up the end result.
While fresh cheese-making is simple - just a matter of adding an acid to milk and bringing it to a temperature where the curds and whey separate - there are some rules I learned after my first failed attempt. Most importantly, don't let your milk heat too fast. Stir it constantly over medium-high heat until it comes to temperature, otherwise the bottom will scald and the curds and whey won't separate. While some recipes you might find will tell you to add your acidic element to the milk after it bubbling, for me this didn't work, and bringing all the ingredients to temperature at the same time was both easier and a success. Finally, if it is anything else than blatantly obvious that the curds and whey have separated in the pot, don't strain it yet. Only when you clearly see your pot is full of just curds and translucent whey, then you can strain.
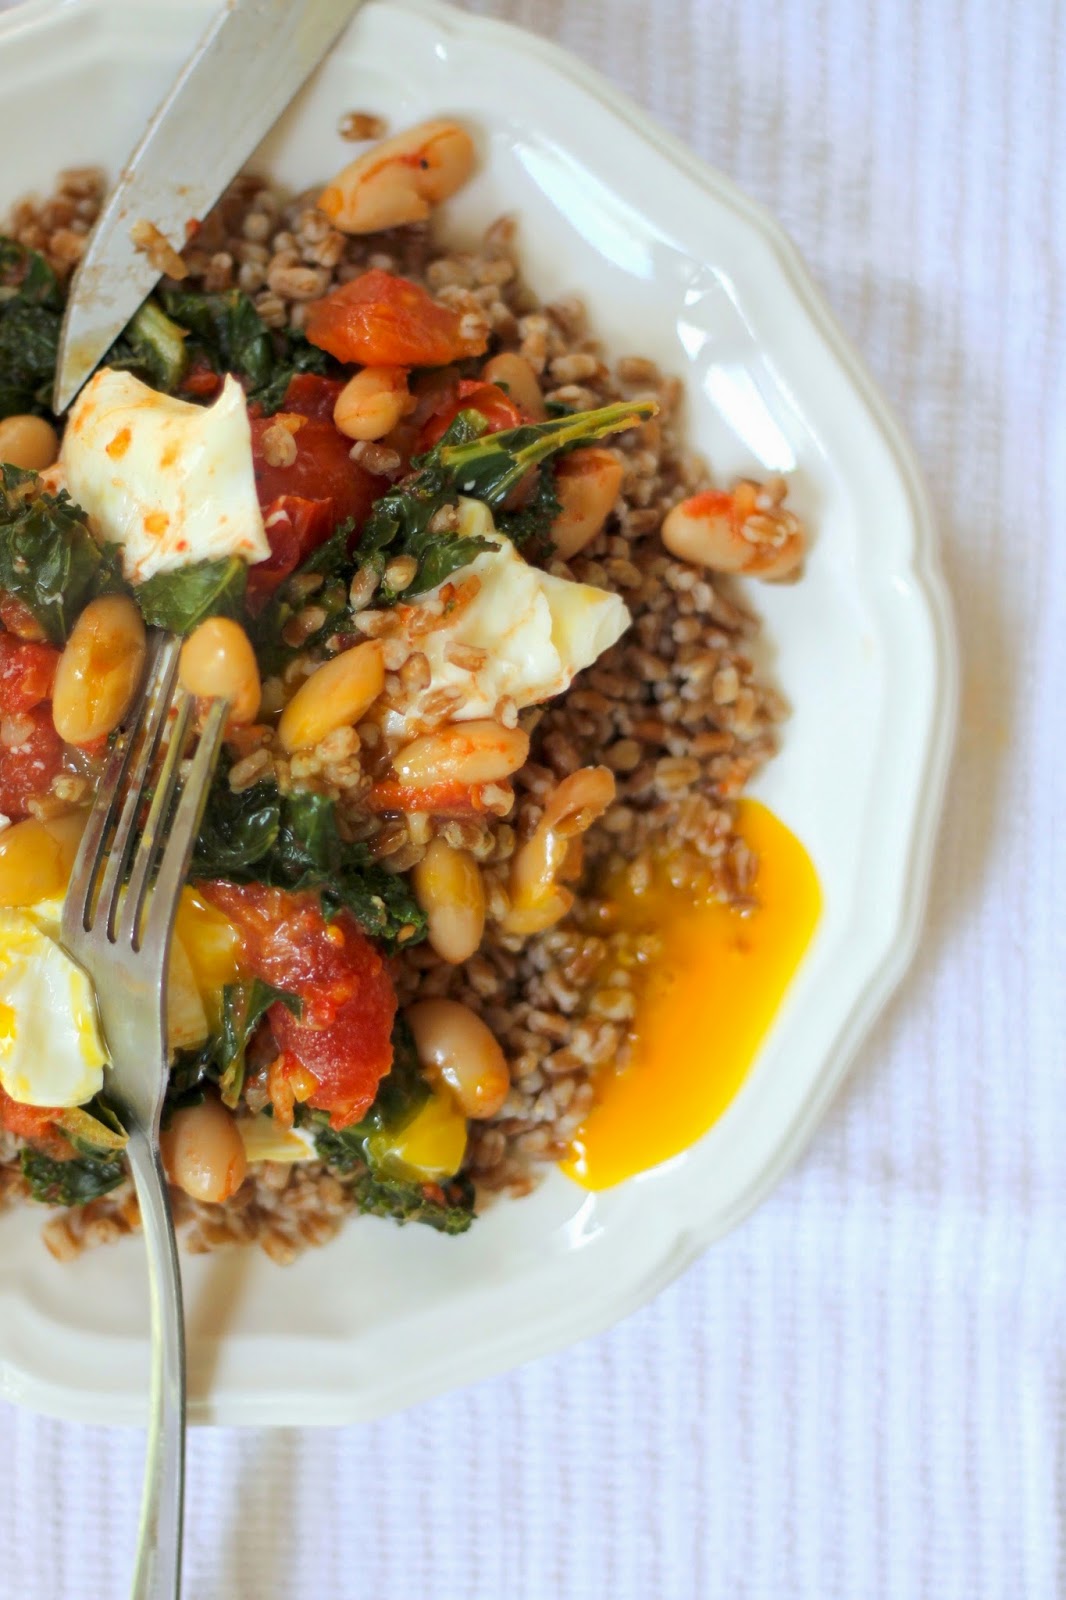
The cheese you get with this recipe is super versatile, just very mild, a little tangy, and a little salty. In this case, it worked for both sweet and savory tartines, and was particularly good, texture-wise, with grilled French bread.

 |  |  |